SAML
This article describes how to configure Single Sign-On (SSO) based on the SAML 2.0 protocol in a TrueWatch workspace.
Prerequisites
Before you begin, ensure you have prepared the following:
| Item | Description |
|---|---|
| IdP Administrator Permissions | Required to create a SAML application within your enterprise identity provider (e.g., Azure AD, Okta, OneAuth, Keycloak, etc.) |
| Metadata XML File | The SAML metadata document exported from the IdP, containing key information such as the login URL and public key certificate |
| Corporate Email Domain | The email suffix used to identify SSO users, e.g., example.com |
Configuration Steps
Step 1: Access the Configuration Page
- Navigate to Manage > Member Management > SSO Management > User SSO.
- Select the SAML access type.
- Click Add Identity Provider.
Step 2: Fill in Basic Information
- Identity Provider: The platform providing identity management services, used to manage user identities and authentication information. Define a name here (❗️ This custom display name will appear as the IdP alias on the login selection interface. It is recommended to use an easily recognizable name, such as
Company Azure AD). - Metadata Document: Upload the XML format metadata file provided by your IdP. The system will automatically parse information like the login URL and public key.
- Remarks: Custom description for recording relevant information about this identity provider.
Step 3: Login Control
- Access Restriction: Enter the corporate email domain (e.g.,
example.com). The system will verify if the login email suffix matches. Email addresses logging in for the first time can automatically create workspace member accounts. - Role Assignment: Assign a default role (Administrator/Standard Member/Read-Only Member) to SSO users logging in for the first time. This does not affect users who have logged in before.
- If SAML Role Mapping is enabled in the workspace, the system will prioritize assigning roles according to the mapping rules. The default role configured here will only apply to users who do not match any mapping rule.
- Session Duration: Set the idle session timeout and maximum session duration for SSO login sessions.
Session Duration
Set unified login session durations for enterprise members logging in via SSO.
| Configuration Item | Range | Default Value | Description |
|---|---|---|---|
| Idle Session Timeout | 180~1440 minutes | 180 minutes | The time after which a user is automatically logged out due to inactivity. |
| Maximum Session Duration | 0~7 days | 7 days | Forces logout after reaching this duration, regardless of activity. 0 means never expires. |
After modifying the session duration settings, already logged-in members retain their original settings, while new logins will follow the latest settings.
Example
After updating the SSO session duration settings: - Logged-in members: Their session expiration time remains unchanged. - Newly logged-in members: The latest session duration settings take effect.
For example: - Initially, the idle session timeout for SSO is configured as 30 minutes. When member A logs in at this time, their idle session timeout is 30 minutes. - Later, the administrator updates the idle session timeout to 60 minutes. Member A's idle session timeout remains 30 minutes, while member B, who logs in after the change, will have an idle session timeout of 60 minutes, and so on.
Step 4: Obtain SP Configuration Information
After successfully adding the identity provider, scroll down to the Service Provider Details section on the edit page to obtain the configuration information for TrueWatch as the SP (Service Provider):
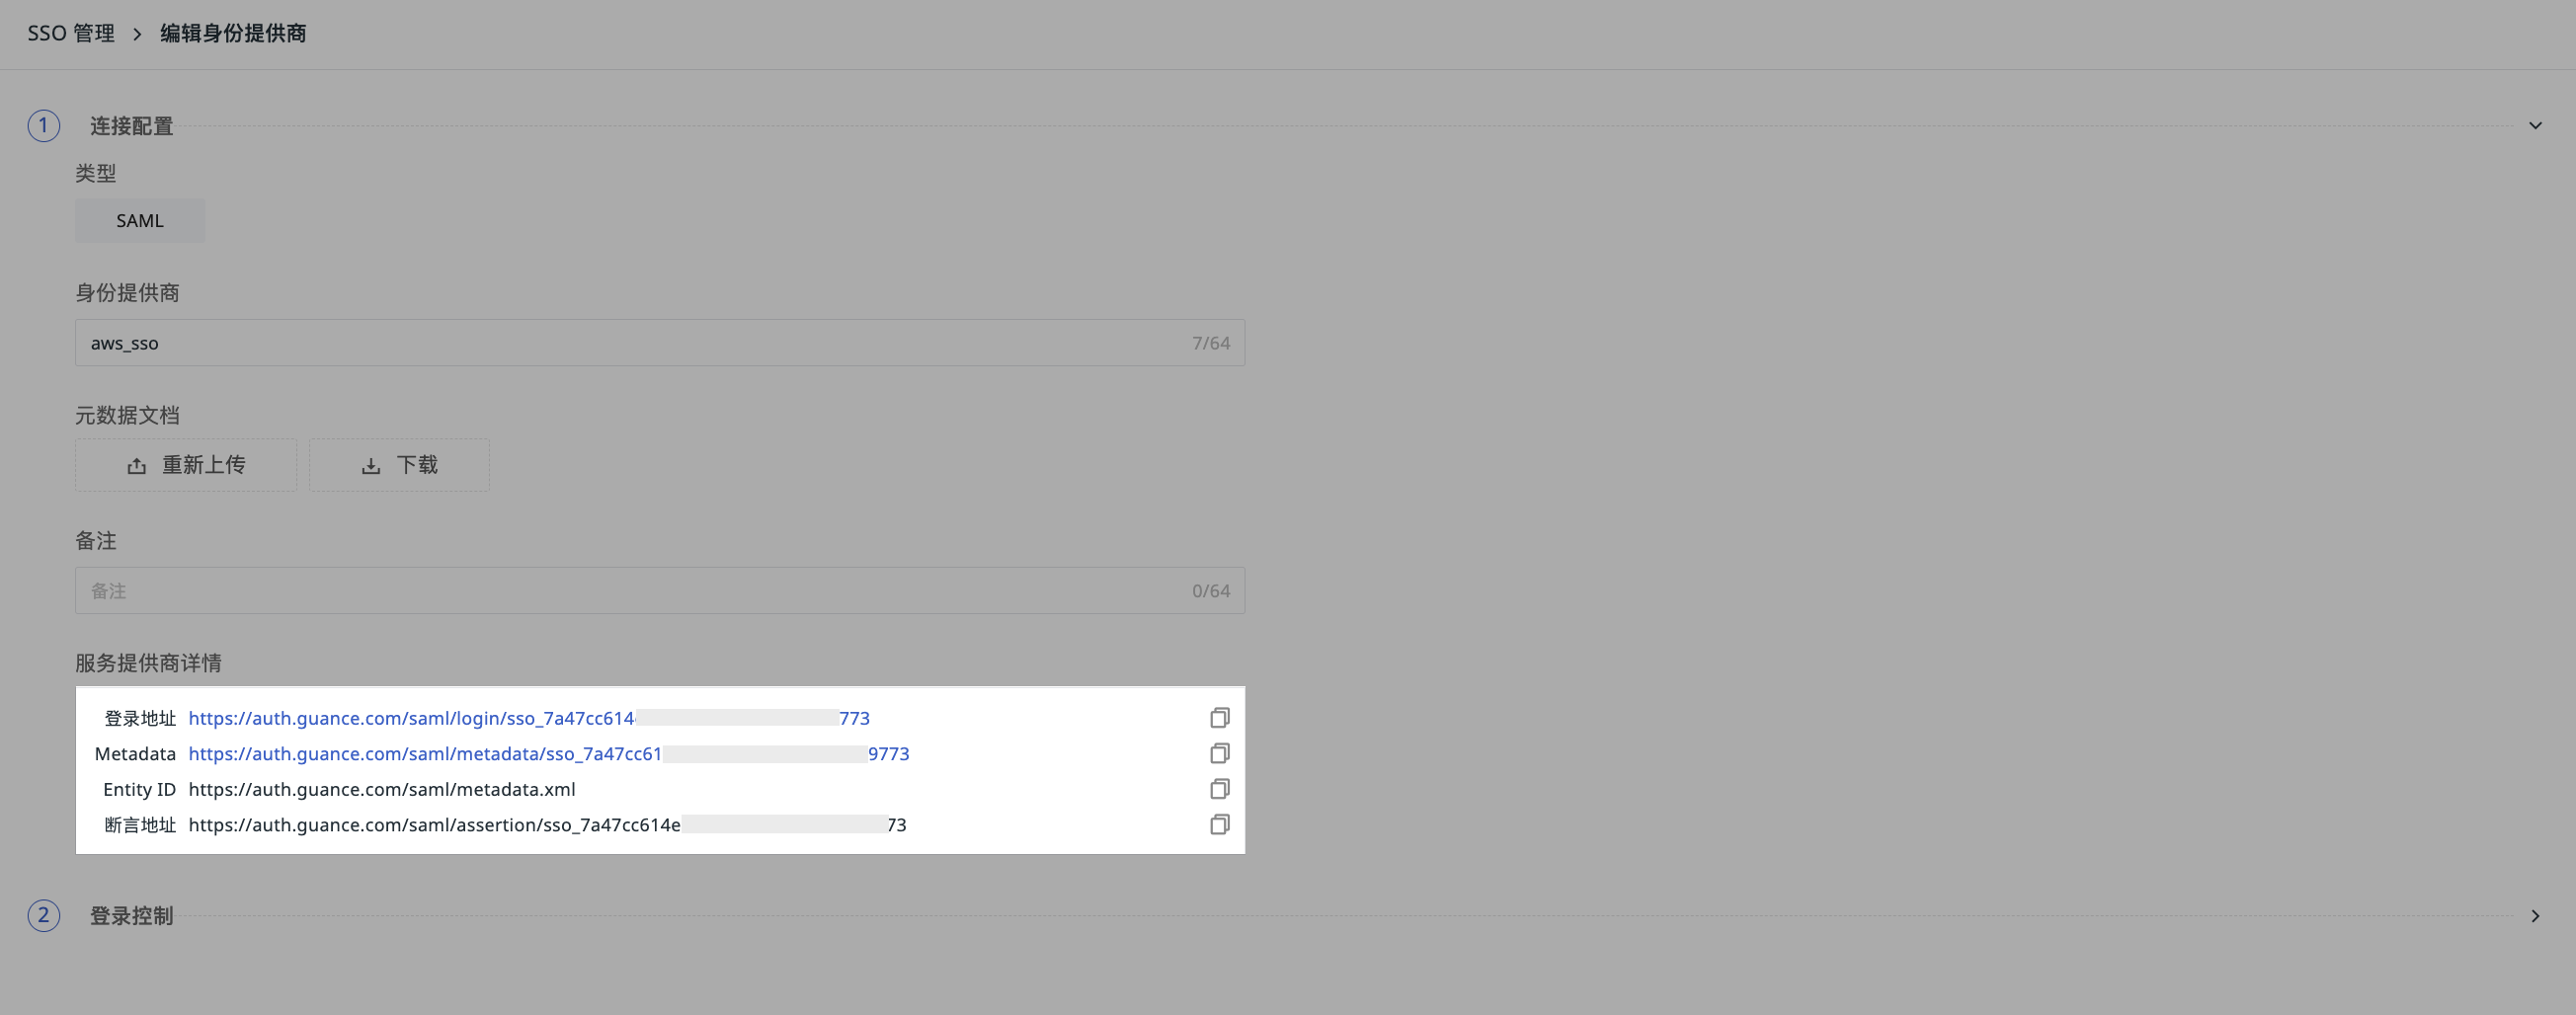
| Field | Description |
|---|---|
| Login URL | The TrueWatch SSO login entry point. Each URL is limited to accessing one workspace. Format: https://<auth-domain>/saml/login/sso_<id> |
| Metadata | The TrueWatch SP metadata file, which can be downloaded and imported into your IdP. |
| Entity ID | The unique identifier for the TrueWatch SP, which needs to be configured in your IdP. Typically: http://<auth-domain>/saml/metadata.xml |
| Assertion Consumer Service URL | The address (ACS URL) where the IdP submits the SAML assertion to TrueWatch after successful login. Format: https://<auth-domain>/saml/assertion/sso_<id> |
Step 5: Configure SP Information in Your IdP
Based on the information obtained in Step 4, complete the following configuration in your IdP:
- Entity ID: Enter the Entity ID provided by TrueWatch.
- ACS URL (Assertion Consumer Service URL): Enter the Assertion Consumer Service URL provided by TrueWatch.
- Name ID Format: Ensure the IdP returns the user's email address (in EmailAddress format).
- Signing Certificate: Upload the certificate from the TrueWatch metadata (if required).
Common IdP Configuration References
User Login Verification
- Access the TrueWatch SSO login page via email: https://auth.truewatch.com/login/sso.
- Enter the email address configured during SSO setup and select the IDP associated with the workspace you wish to log into.
- After successful authentication, you will be redirected to the workspace selection interface.
- Log in to that address.
- Enter your username, password, and other required information.
- Login successful.

Notes
- When Role Mapping is Enabled: If a user does not match any role mapping rule, or if role mapping is disabled, they will see a "No Access Permissions" prompt after login.
- After Deleting an Identity Provider: When users log in via SSO, they will not see workspaces associated with the deleted IdP.
- Multiple IdP Configuration: A single workspace supports up to 10 IdPs. A user's email domain only needs to match one of them to log in.
- Account Binding: During the first SSO login, if the email matches an existing TrueWatch account, it will be automatically bound, and historical data will be preserved.
Further Reading
You might also be interested in: